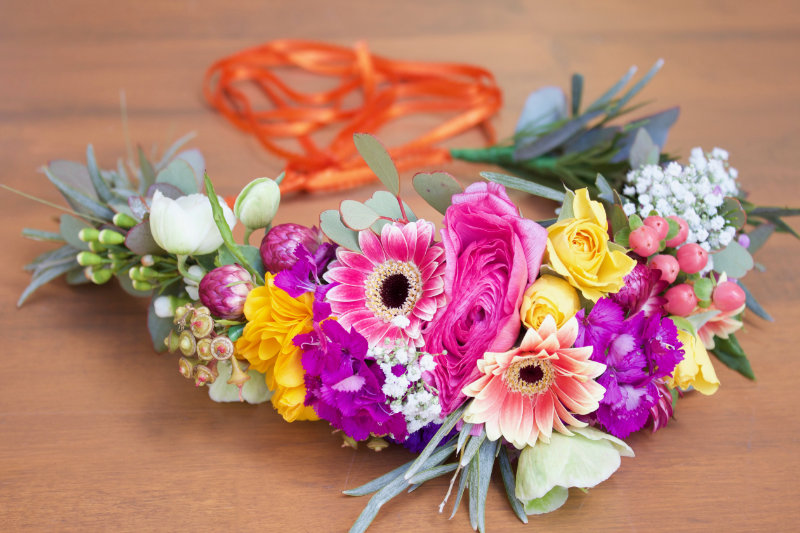
DIY Flower Crown
We’re loving the boho fresh flower halo, also known today as the mystical flower crown. Dating back to Ancient Greece, these gorgeous crowns have long been a symbol of love, honour and celebration. Not to mention we feel gloriously radiant when we put one on. Perfect for dazzling up any dress, we suspect they’ll be unveiling their elegance at this year’s Melbourne Cup. So, to avoid any impending FOMO, the floristry team at W Events have decided to help you create the perfect DIY flower crown!
What you’ll need:
 Your choice of flowers
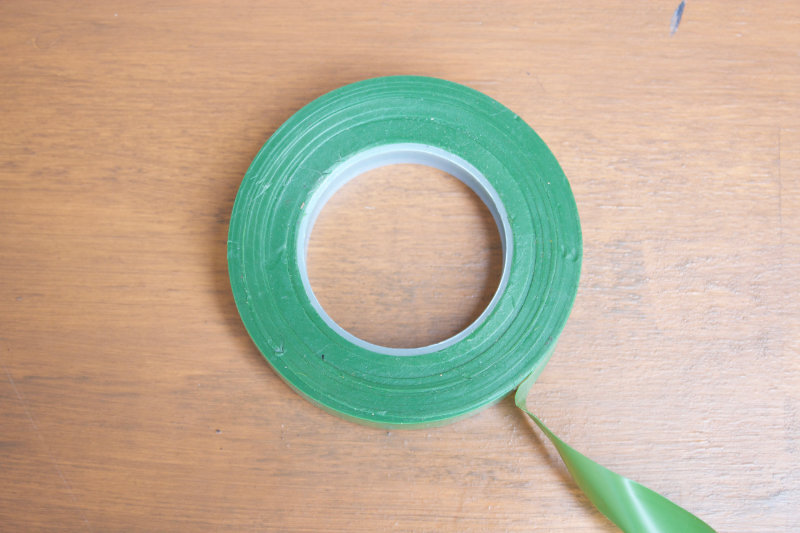 Green parafilm tape
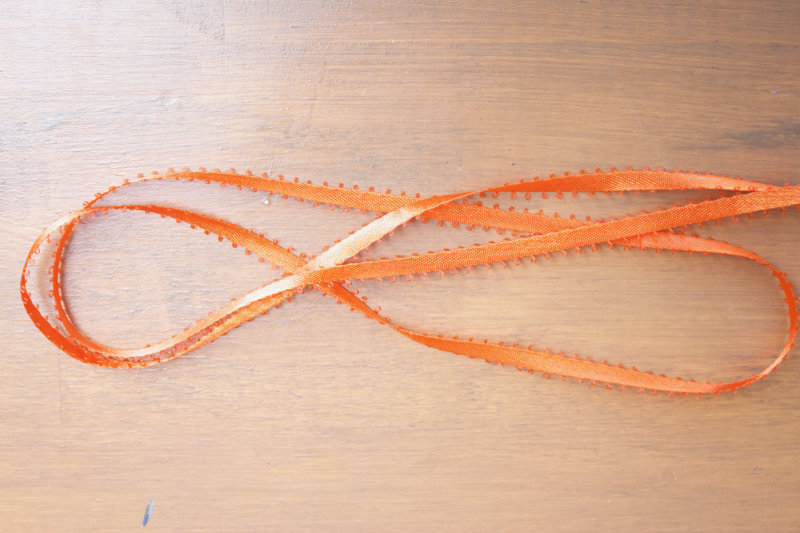 Ribbon in the colour of your choice
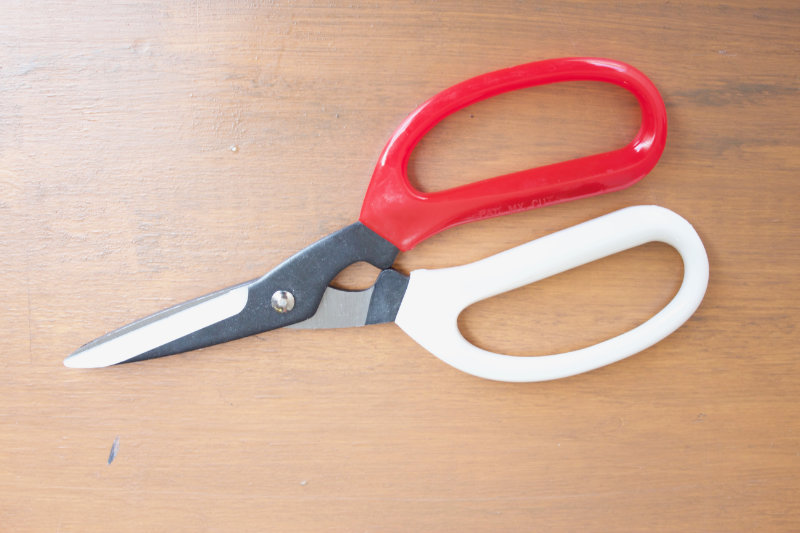 Scissors
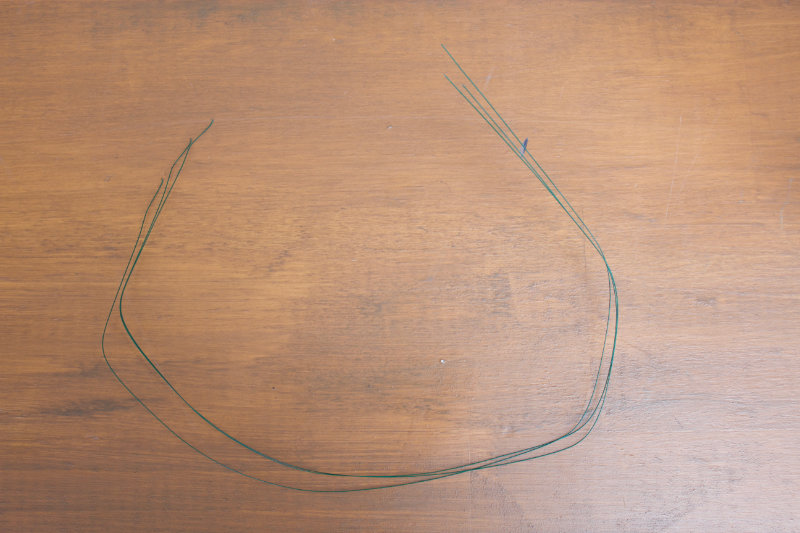 18-gauge wire (*optional: extra wire 24-gauge)
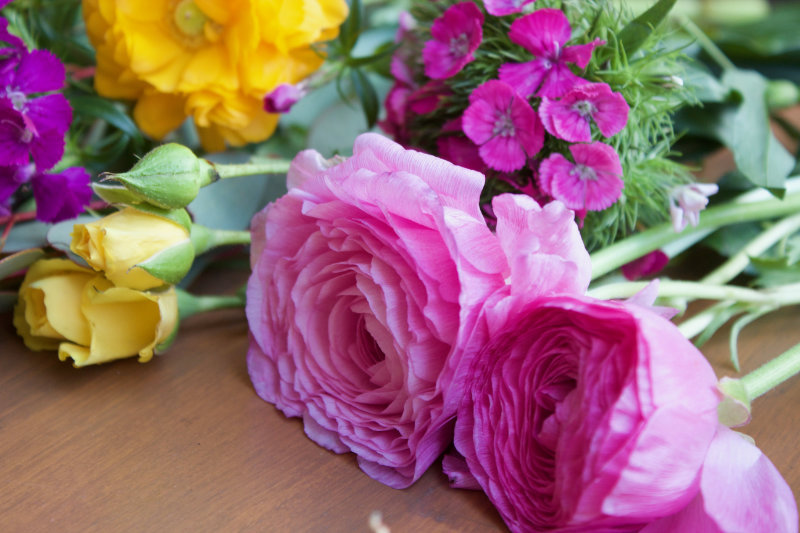
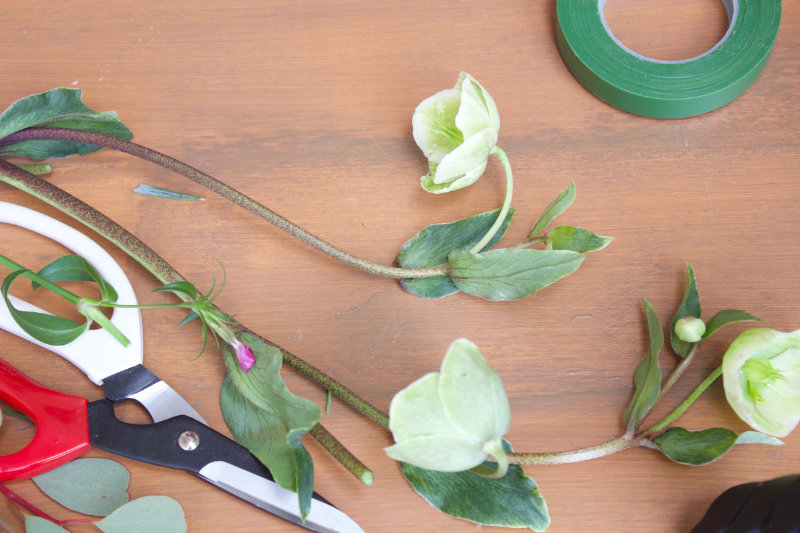
*A little note on choosing your flowers*
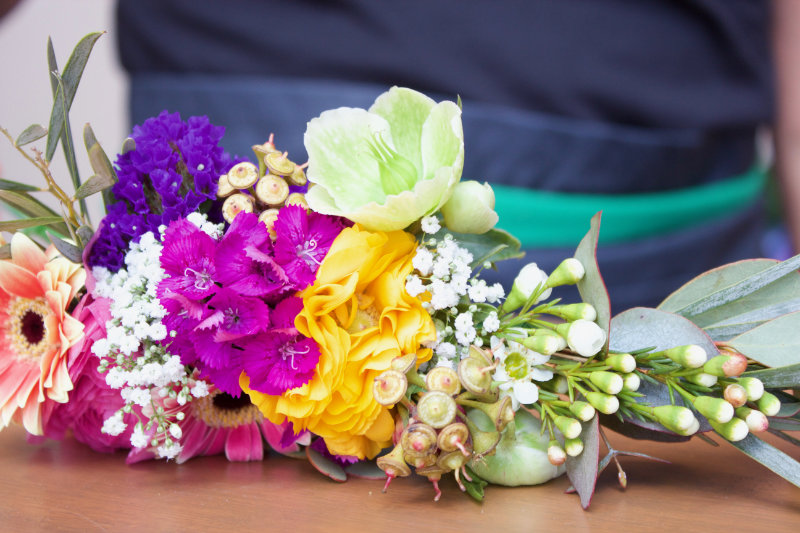
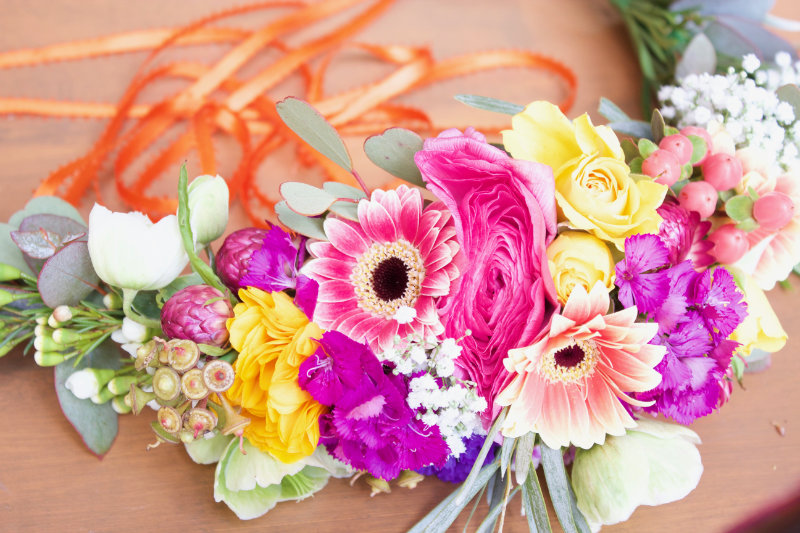
Below is a list of the flowers we used to create this crown, but remember, this is a perfect opportunity for expressing your individuality! We love picking the bright and colourful kind, and smaller flowers are easier to handle as bigger ones can sometimes get in the way.
Flowers and foliage:
- Baby’s breath
- Ranunculus
- Gum
- Everlasting Daisy
- Spray Rose
- Hellebores
- Wax Flower
- Sweet William
- Hypericum
- Piccolo Gerbera
- Acacia
- Statice
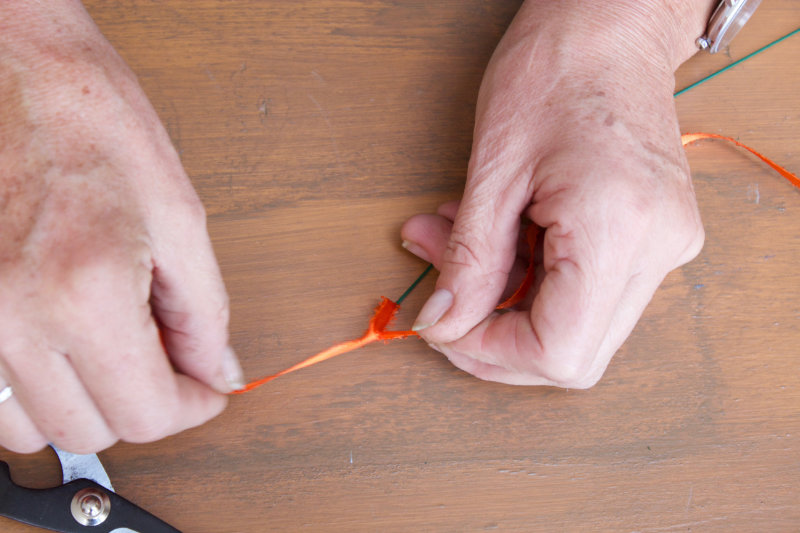
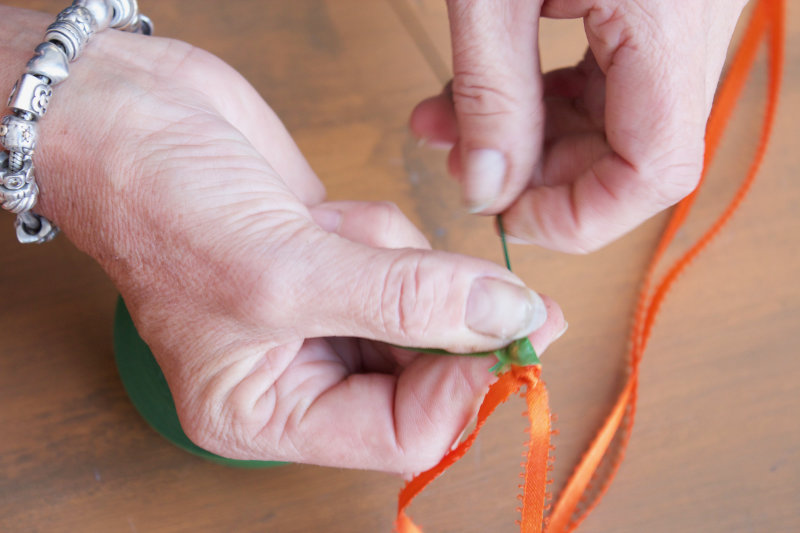
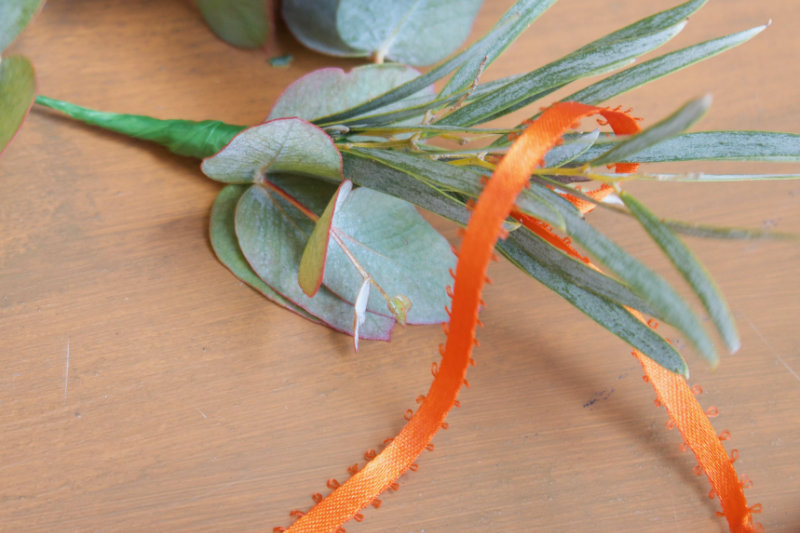
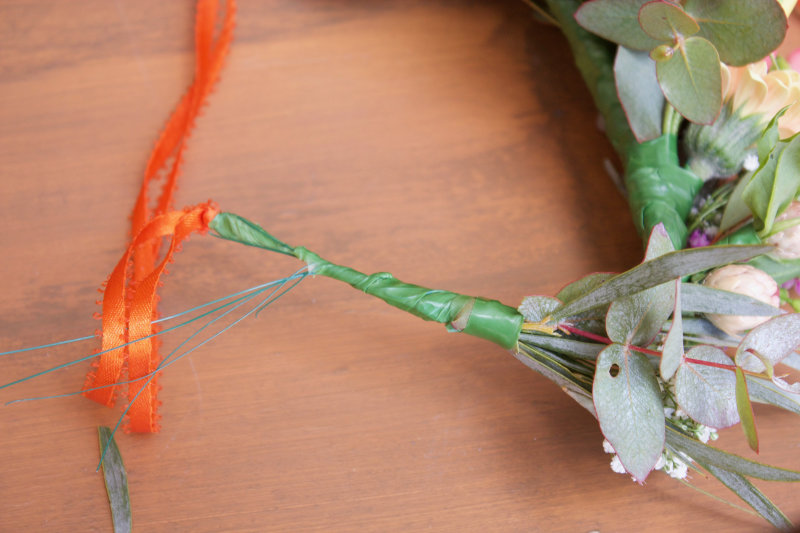
Step 1: Attach the ribbon. This will be used to tie the crown around your head. Bend the wire at each end so it forms a small loop. Tie the ribbon on tightly and clamp down.
Step 2: Prep the wire. Begin wrapping the tape around the wire. Pull and twist as you go to stretch the tape around so that it isn’t too thick. Cover the entire wire.
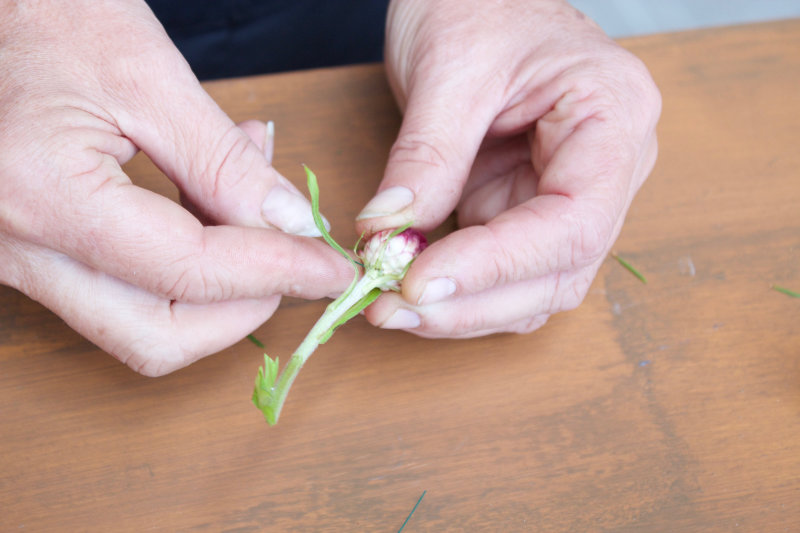
Step 3: Start adding foliage. Begin by adding small sprigs of greenery to the crown. Hold the stems against the wire and wrap them with tape. Remember to pull the tape at the same time to stretch it so that it is secured. Continue adding little pieces on, working in the same direction from one end of the crown to the other.
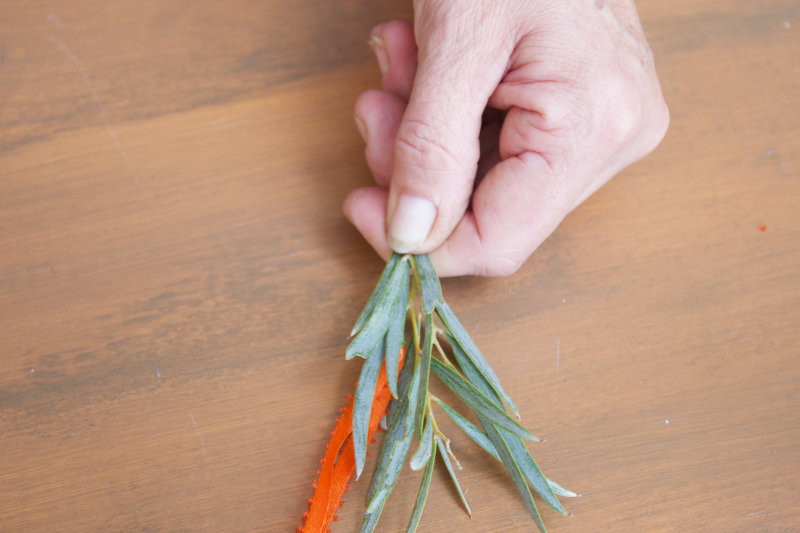
*tip: always make sure the stem is long enough for the tape to grip onto.
Step 4: Begin adding flowers. Continue adding flowers along the wire ensuring they are placed very close together. Do this so that when the crown bends it doesn’t fall apart or have lots of gaps in between. You can choose to make it bulkier at the front and smaller on the sides. Continue to add small bits of greenery as you go, increasing the foliage towards the end.
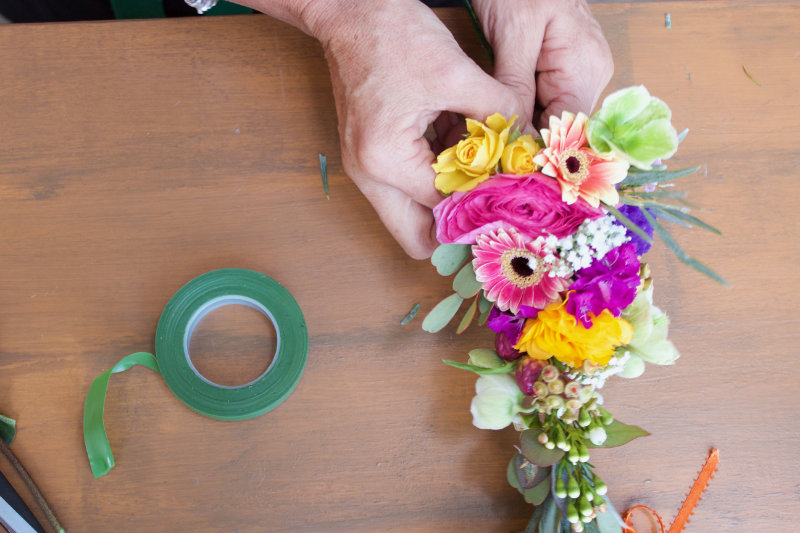
*tip: if any flower stems are too soft, you can add a small (24-gauge) wire around the stem and tape it on to secure it.
Step 5: Finalise the details. Cut off any long stems or bits of wire so they don’t stick out or poke into your head. Ensure all the wire on the crown is covered with flowers and foliage.
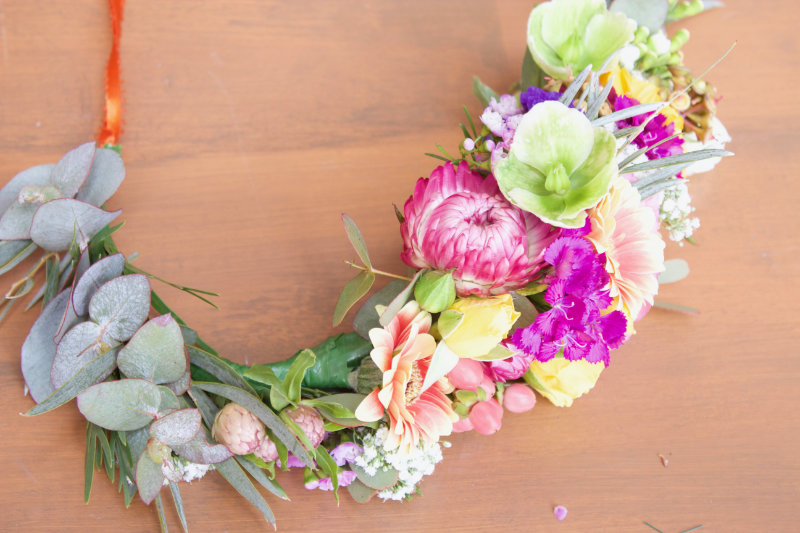
Step 6: Embrace the royalty! Place the crown on your head and tie at the back using the ribbon. You make a marvellous queen! Remember, all those flowers can be quite heavy so tie tightly. You could also use bobby pins to secure it in place.
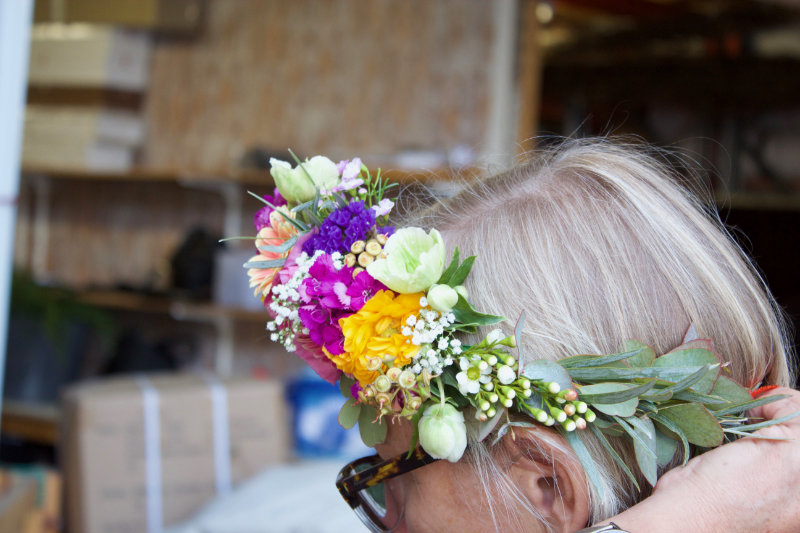
*tip: the crown can be made one day in advance by storing it in the coolest part of the fridge on a paper towel (with no other fruit or veg around!)
Written by Bronte Alexander
To view our full DIY Flower Crown video, click here!
No Comments